
I timed my front yard last summer and wrote about it in our low-maintenance front yard post. The front turned out to be a layout problem. The back acre has a different one, and it’s all one thing.
The fence.
There’s a wood fence along two sides of my back lot, a little over 400 feet of it with a post every 8 feet. My zero-turn does the open grass in about 35 minutes. Then I walk the fence with the string trimmer, and that walk takes close to 30, because every one of those 50-some posts is a stop and the grass under the bottom rail grows like somebody’s paying it to.
So this fall I’m changing the fence line instead of the mower. Here are the fence line landscaping ideas I’ve tried or priced out, what goes under each one, and the safety stuff I wish somebody had told me before I spent 10 summers trimming in shorts.
Why the fence line takes longer than the lawn

A mower can’t cut closer to a fence than the edge of its own deck. On my zero-turn that leaves a strip 2 to 3 inches wide along every fence I own, plus a tuft around every post (more on a push mower with a fat rear wheel). Pickets are worse. The grass grows up between them where nothing but a trimmer can reach.
That strip is small, but you trim it every single week from spring to fall. From April to October that’s 28 or so Saturdays, which is more hours than any other part of my yard. It’s hard on the fence, too. The bottoms of my posts have a chewed, pale ring where the trimmer line has been hitting them for years.
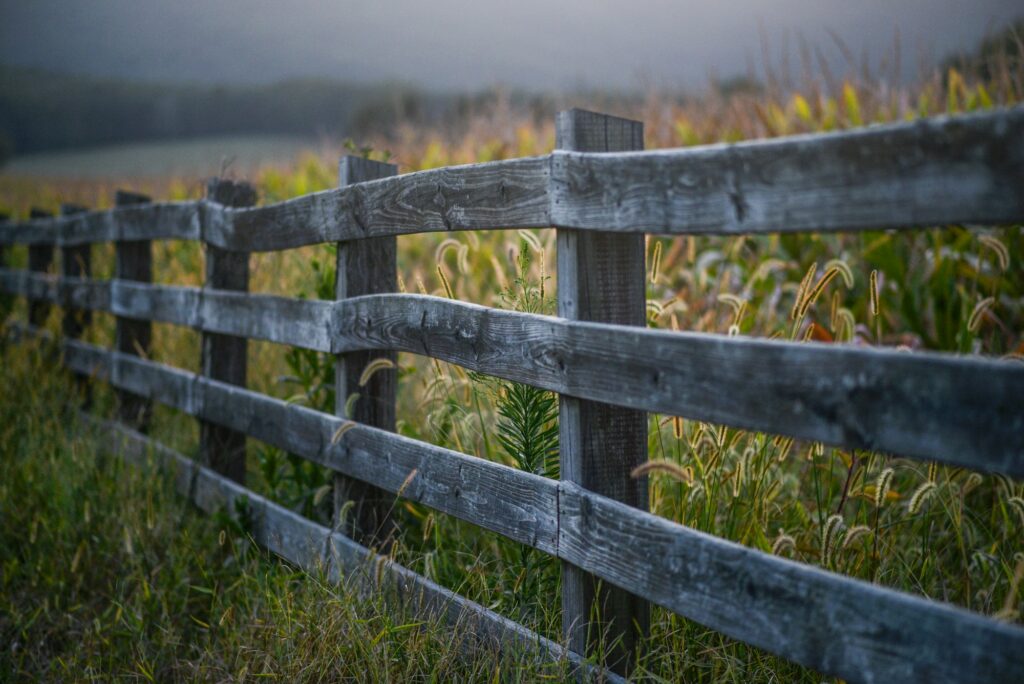
Leave it a few years and the strip stops being a strip. The grass along an old rail fence goes to seed, the weeds move in around every post, and the mower deck can’t get near any of it.
Start with the cheapest check first: is the trouble the fence, or the grass at its foot? If the fence looks fine and only the base is a mess, a strip of something that isn’t grass fixes it. If the whole run looks bare and you’d like it to look like something, that’s a planting job, and it’s a bigger weekend.
Before you dig: the property line and 811
A fence isn’t proof of where your property line is. Fences get set a little inside the line, a little outside it, or wherever the last owner felt like digging. Before you build a bed along one, find your survey or plat. If it’s a shared fence, talk to the neighbor first. It’s a lot easier to have that conversation before there are shrubs in the ground.
Then call 811, even for a shallow strip. 811 is the free national before-you-dig service. You contact it, or your state’s 811 center website, a few business days before you dig. That includes small jobs like planting shrubs or putting in a fence. The utilities mark their buried lines with paint or flags. The 811 site says to wait until every utility has actually responded before you break ground.
On my lot, the cable line runs right along the back fence. I wouldn’t have guessed it.
Trim it safely while you still have to

Even the best fence line plan still leaves some trimming, so this part comes first. Ohio State University Extension’s safety sheet on string trimmers is short and worth reading once. It says to keep bystanders at least 50 feet away because of thrown objects. A fence line is exactly where the line throws things, since it’s slapping rocks and fence posts the whole way down.
The same sheet lists the gear. Safety glasses with side shields or goggles, plus a face shield or screen over them. Ear protection. Leather gloves. Sturdy leather boots, steel toes if you have them. Long pants and a snug long-sleeved shirt.
I used to do it in shorts and sunglasses. My shins have opinions about that now — ask me about the summer of the hidden fence staple.
One more thing from that sheet: shut off the engine and disconnect the spark plug wire before you do maintenance or change an attachment, like swapping the trimmer head. It also calls the owner’s manual the best source for your trimmer’s maintenance schedule. That matches my experience. The manual beats any forum thread.
Idea 1: a gravel strip under the fence
This is the cheapest fix and the one I’d do first on a fence that already looks fine. You cut out the grass in a strip along the base of the fence, set an edge, and fill it with gravel or crushed rock. Mine runs 12 inches wide, with the steel edging set about 4 inches into the ground. That’s enough that the deck can overlap it without the blade ever reaching grass at the fence.
What goes under the rock matters. University of California IPM’s page on mulches says that if you use rock mulch, you should consider putting a landscape fabric under it. The fabric keeps the rock from sinking into the soil, and it keeps soil from working up through the rock, which would bring weed seed to the surface.
The catch for a mower guy is thrown rock. A loose stone that walks out of the strip and into the grass gets picked up by the blade. So set a hard edge between the grass and the gravel, keep the gravel about an inch lower than the lawn, and point the discharge away from the strip on the pass along the fence. And look before you mow. If you find a stone in the grass, pick it up before the deck does.
Idea 2: a low hedge or shrub border
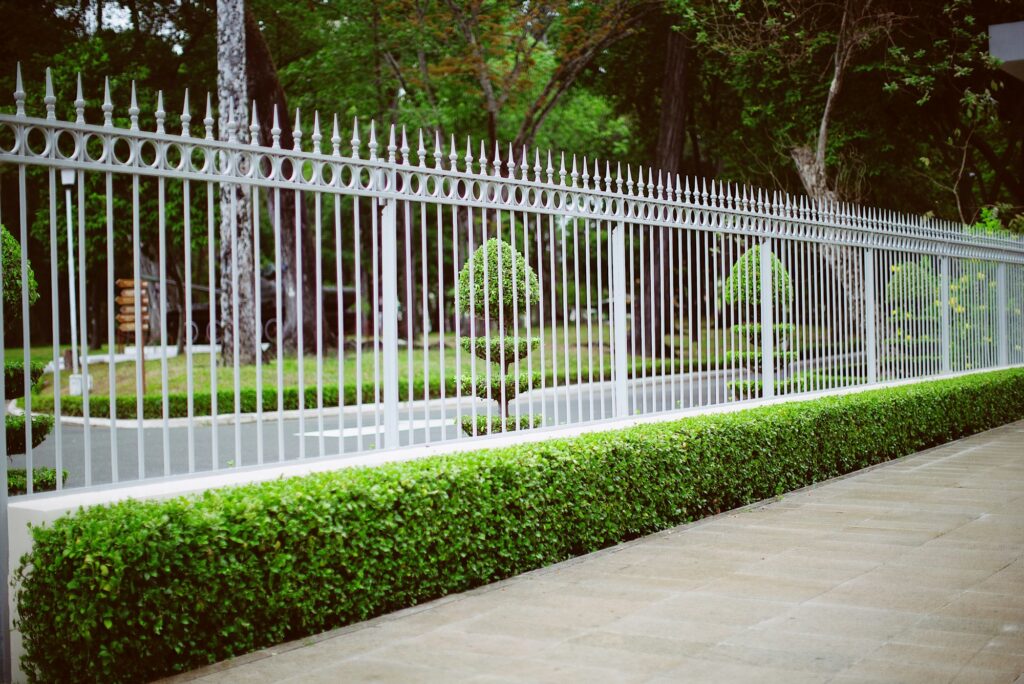
A hedge along a fence makes it look finished and gives the mower one clean edge to follow instead of fifty posts. The mistake I see most is planting too close to the fence. Read the tag for the shrub’s mature width, then set the center of each plant at least half that width out from the fence. I add another 12 inches on top of that, so I can still get behind the shrubs to fix a board or stain the fence. A boxwood tagged at 4 feet wide goes in 3 feet out, by my math.
Mulch the bed, but think twice about fabric under it. Illinois Extension’s Christopher Enroth wrote that landscape fabric only suppresses weeds for a couple of years. Over time its pores fill with sediment. He’s pulled fabric up after a deep soaking rain and found dry soil underneath. Wood mulch on top of fabric also breaks down without ever mixing into the soil below. Weeds also sprout in the mulch on top of it. His alternative is a couple of sheets of plain newspaper under the mulch, no glossy pages. Cardboard works too if you’re careful, once the tape and any waxy coating are off.
UC IPM is a little friendlier to fabric for shrub plantings. It says landscape fabric pays off when the planting stays put for 4 or more years. It also warns that roots grow into it, and pulling up fabric that’s been down more than 5 years can damage them. I skip it under wood mulch. If you’re working out how much mulch to buy, our mulch calculator does the math, and this rundown of mulch types covers what to buy.
Idea 3: flowers and climbers along the fence
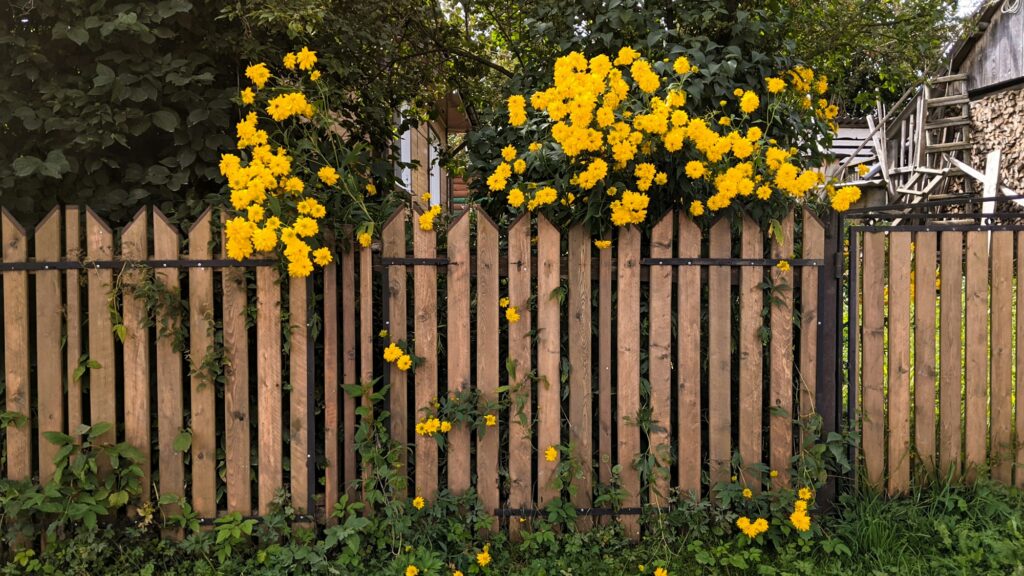
If you want the fence to look like a garden instead of a border, plant a strip of tough perennials in front of it. Tall ones in the back against the boards, shorter ones in front, and a mulched edge between the bed and the lawn. In my yard the yellow and orange daisy types are the ones that come back every year no matter what I do to them.
Don’t put fabric under a bed like this. UC IPM says fabric doesn’t belong in beds you replant from time to time, or where it would keep groundcovers from rooting and spreading.
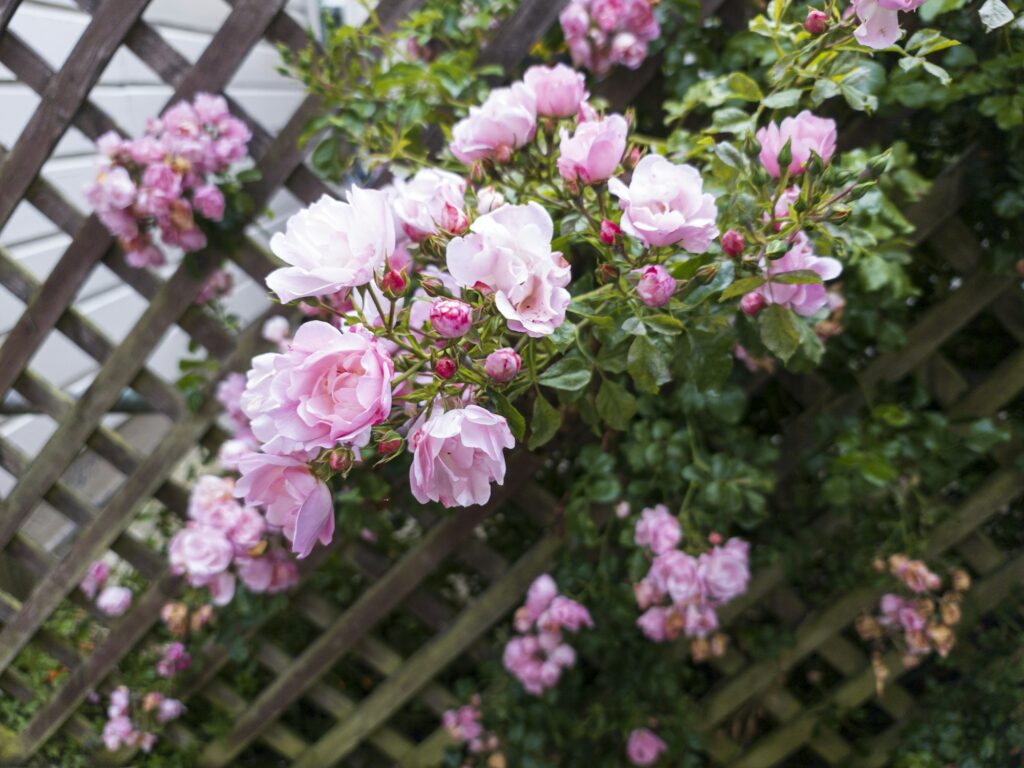
Climbers are the other option. I’d rather give them their own lattice panel than train them straight onto the fence. Mount the lattice 2 or 3 inches off the boards on spacer blocks, and the fence can still dry out after a rain. When the fence needs a board or a coat of stain someday, you unscrew the panel and lay it flat on the grass with the roses still tied on.
Ornamental grasses work along a fence too, and they’re about as low-effort as a bed gets. Cut them back once a year and leave them alone the rest of the time.
Leave the mower an edge to run on

Whatever goes along the fence, the line where it meets the lawn decides how much trimming is left. A soft, ragged edge means the trimmer comes back out. A hard edge the mower can run a wheel on means it doesn’t. We went through mowing strips in the front yard post, and the same idea works here: set the edge level with the lawn, and make any curves wide enough for your deck to follow.
On my zero-turn I run one pass with the left wheel right on the edge, and that’s the whole fence line. The trimmer comes out every 3 or 4 weeks for the corner posts, not every Saturday. (That alone paid for the edging.)
One exception. If your fence sits at the top of a bank or along a ditch, the zero-turn doesn’t go near it. The Texas Department of Insurance’s zero-turn safety sheet says not to run one on slopes greater than 15 degrees, to mow up and down a slope rather than across it, to stay off wet slopes, and to hand trim near water and drop-offs. That stretch of fence gets the trimmer for good, so it’s the stretch where a planted bed saves you the most.
Fall is a good time to do the digging, too. The grass has slowed down, the ground is still workable, and next spring the strip is already there when the mowing starts.
My back fence still has a stretch I haven’t gotten to. It’s the part I trim. Next year it won’t be.